Congrats to 2016’s Grand Finale winner of the voice – Alfie Arcuri!
Another year won and done in the popular talent show where hopeful singers battle it out to win that life changing prize, to live out their dream as a successful recording artist.
What a great concept, I mean seriously, if there were something like that for visual artists I would jump at the opportunity. Not only could it be the thing that finally takes your career to the next level, but you get the opportunity to network and build relationships with people that can really help build your career into something incredible.
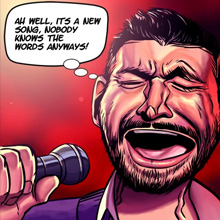
When Alfie performed his debut single he made a comment that cracked me up. When he was asked how he felt about performing his new song his response was something to the effect of “well it’s a new song, so I could have just made up the words and nobody would have known”.
Haha so funny, anyways congrats mate and best of luck with your singing career!
From Sketch to Completion
Step 1 – The Sketch

For the sketch I wanted to capture Alfie in the moment of hitting a big note. It took a minute to find some decent reference but nothing was cutting it so I decided to exaggerate his expression to gain the look I was aiming for.
He’s a bit of a sharp dresser so I thought it would be fun to have him bust out of it a bit and I couldn’t help but throw in a couple veins to really emphasize the power of his voice.
I also adjusted the positioning of the mic to get a clearer visual of Alfie busting out those performance winning notes.
Step 2 – Inking
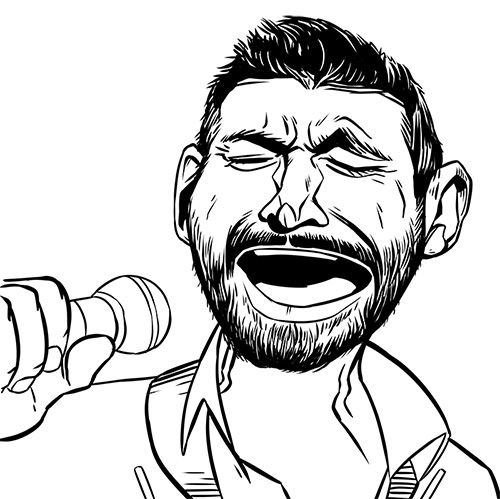
I usually don’t enjoy inking but after spending the weekend doing a lot of style development, which required me to try a bunch of different inking styles, it helped me to find the right groove to smash this one out. I also had alot of fun inking hair, which is something I usually do a terribly job at.
Step 3 – Adding Flat Colour

I kept the flat colours more or less the same as the reference with the exception of the background. I decided to go with a red background (the photo had a blue background) to help tie it in more with the voice branding.
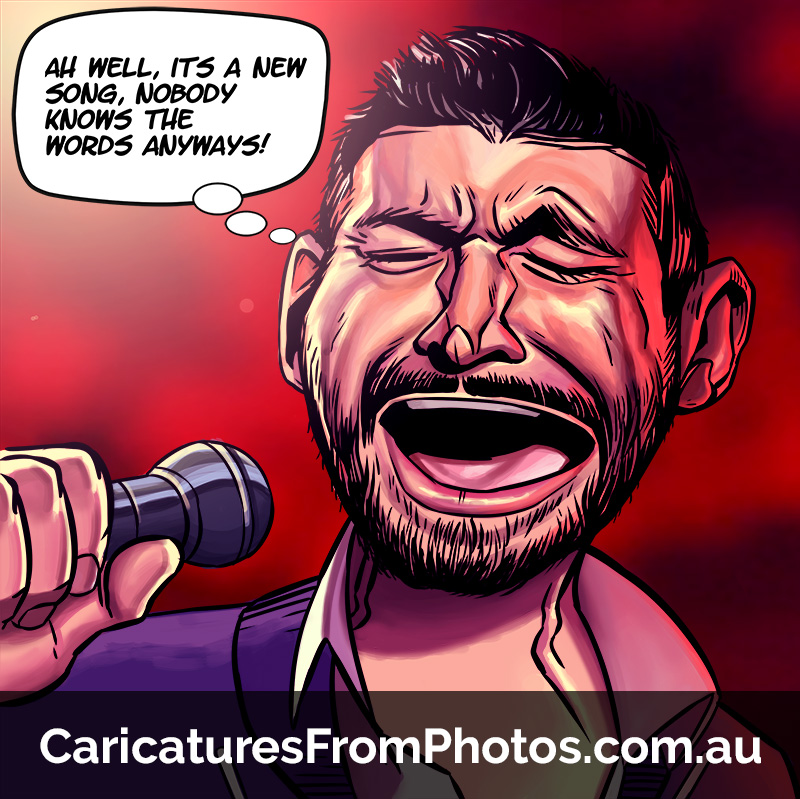
Step 4 – Adding That Sauce

Even though i’m going to take this rendering all the way (give it that hot sauce), rather than jump right into the deep end, I decided to lean into it by blocking out my overall lighting scheme.
Step 5 – Finishing Up
After updating the lighting scheme so the red lighting was hitting him correctly, I added in the comment he made in the final which topped the piece off nicely.
Hope you like it!